Public chargers are great until they aren’t. The station is busy, the cable is iced over, or you realize you forgot to top up before an early drive. Home charging fixes that problem because it turns charging into a routine, like plugging in a phone at night.
To install an electric car charger at home usually means setting up a safe, code-compliant place to charge where you park, most often in a garage or on an exterior wall near the driveway. You’ll choose between Level 1 (120 V) and Level 2 (240 V). Most US drivers land on Level 2 because it restores range much faster and still fits overnight charging.
In February 2026, a typical turnkey Level 2 home setup often lands around $1,100 to $3,500 for the charger, wiring, labor, and permits when the panel is in good shape and the run is straightforward. Costs rise when the panel is full, the wire run is long, or the charger needs an outdoor pedestal. For a reality check on why installs vary so much, CNET’s rundown on the best way to get a home EV charger installed captures the common sticking points.
Choose the right home charger setup for your car and your daily driving
Start with outcomes, not specs. You’re trying to match charging speed to your daily miles, your parking time, and your electrical capacity. If your car sits 10 to 12 hours overnight and you drive modest miles, slow charging can work. If you commute, share a charger with another EV, or take frequent longer trips, you’ll want faster recovery.
Level 1 and Level 2 are both AC charging. Your car’s onboard charger turns AC into DC for the battery. That means the car itself sets an upper limit on charging power, even if you buy a higher-output wall unit. Meanwhile, DC fast charging (the highway-style “Level 3” stations) feeds DC straight to the battery and needs heavy infrastructure. It’s not a normal home project.
A quick rule of thumb helps:
- Level 1 fits lower daily miles and long parking windows.
- Level 2 fits most commuters and most multi-EV households.
If you’re also sorting out what plug your EV uses (J1772 vs NACS, adapters, and what “universal” really means), this guide on US EV charging connector standards clears up the terminology before you buy hardware.
Level 1 vs Level 2 charging, what the difference feels like day to day
Level 1 uses a standard 120 V outlet (usually a NEMA 5-15). It’s simple, but it’s slow. In practice, it’s best at “maintenance charging,” where you add a small amount of range each night. Level 2 uses a 240 V circuit and adds range much faster, often making overnight charging feel effortless.
Here’s a simple comparison, focused on day-to-day use.
| Feature | Level 1 (120 V) | Level 2 (240 V) |
|---|---|---|
| Typical install work | Often none (if outlet is suitable) | Usually new dedicated circuit and breaker |
| Charging feel | Slow, steady top-ups | Overnight refills, faster recovery |
| Best fit | Light driving, long parking | Most daily driving, shared households |
| Common issue | Outlet wear, heat on weak receptacles | Panel capacity, permit, wire routing |
Example: If you drive 25 miles a day and park 12 hours, Level 1 might keep up. On the other hand, after a 150-mile day, Level 2 lets you recover overnight without thinking about it.
Hardwired or plug-in, and how to pick amperage without overbuying
Most Level 2 home units come in two install styles:
- Plug-in (often a NEMA 14-50 receptacle): easier to swap the charger later, but the receptacle must be high-quality and correctly torqued.
- Hardwired: a cleaner look and fewer heat points. It can also support higher output, depending on local rules and the charger.
Amperage is where people overspend. Higher output can help, but only if your car and panel can use it. Many homes do well with a 40 to 50 amp circuit for Level 2 charging. Your electrician should confirm with a load calculation, then size the breaker and wire to code.
Also, buy safety-certified equipment. Look for UL listing (or equivalent NRTL certification), and choose an outdoor-rated unit if it’ll live outside. Emporia’s write-up on Level 2 EV charger installation is a solid reference for what “normal” home installs include.
Plan the install so the charger lands in the right spot and passes inspection
Good installs feel boring. The cable reaches easily, nothing gets hot, and the charger never trips the breaker. Planning is what makes that happen, because it prevents rework after the electrician arrives.
Most US cities and counties require a permit for a new 240 V circuit, and an inspection after the work. That’s not red tape for its own sake. The permit creates a paper trail that helps with safety, future troubleshooting, and even home resale.
Before anyone drills or pulls wire, think about three constraints:
- Where the car actually stops (not where you wish it stopped).
- How the cable routes (no trip hazards, no pinched cords).
- What the electrical panel can support (capacity and breaker space).
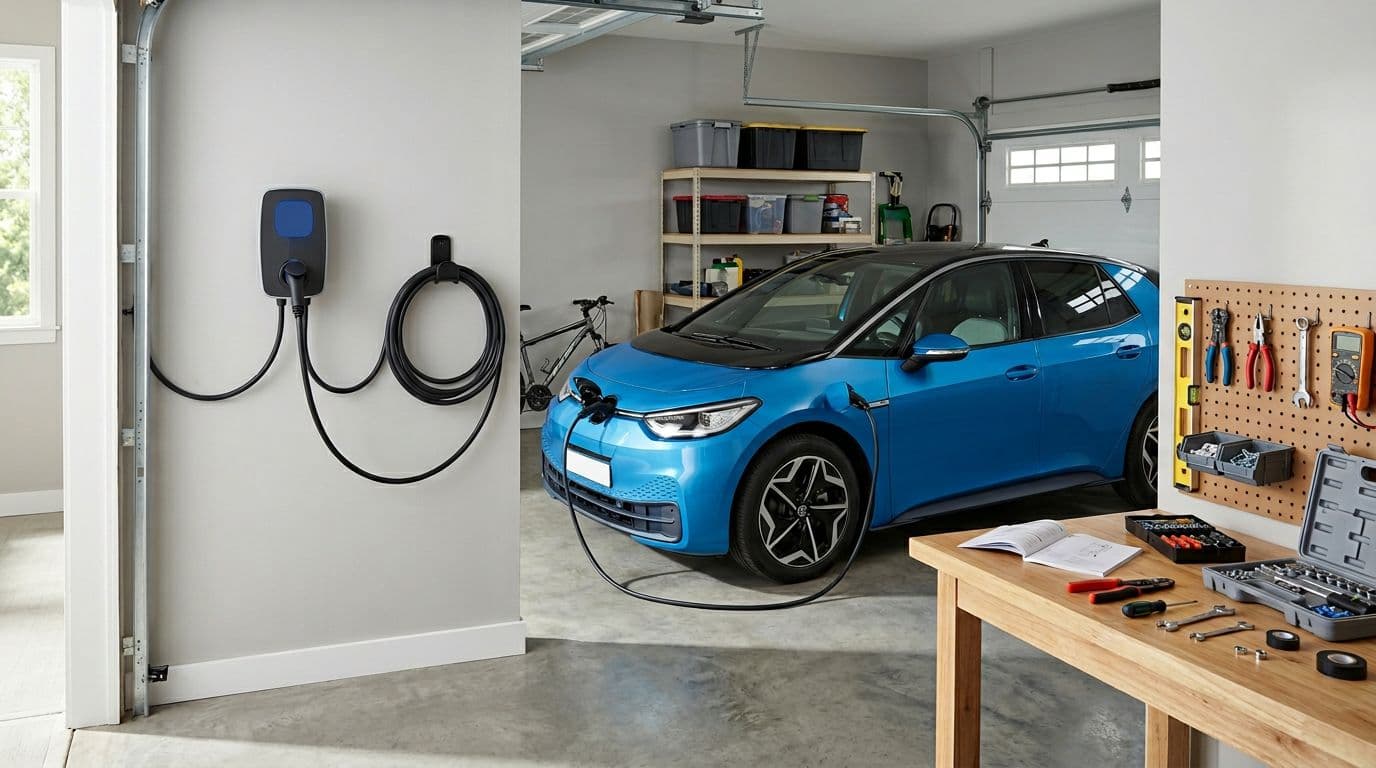 Level 2 home charger placement with a clean cable path, created with AI.
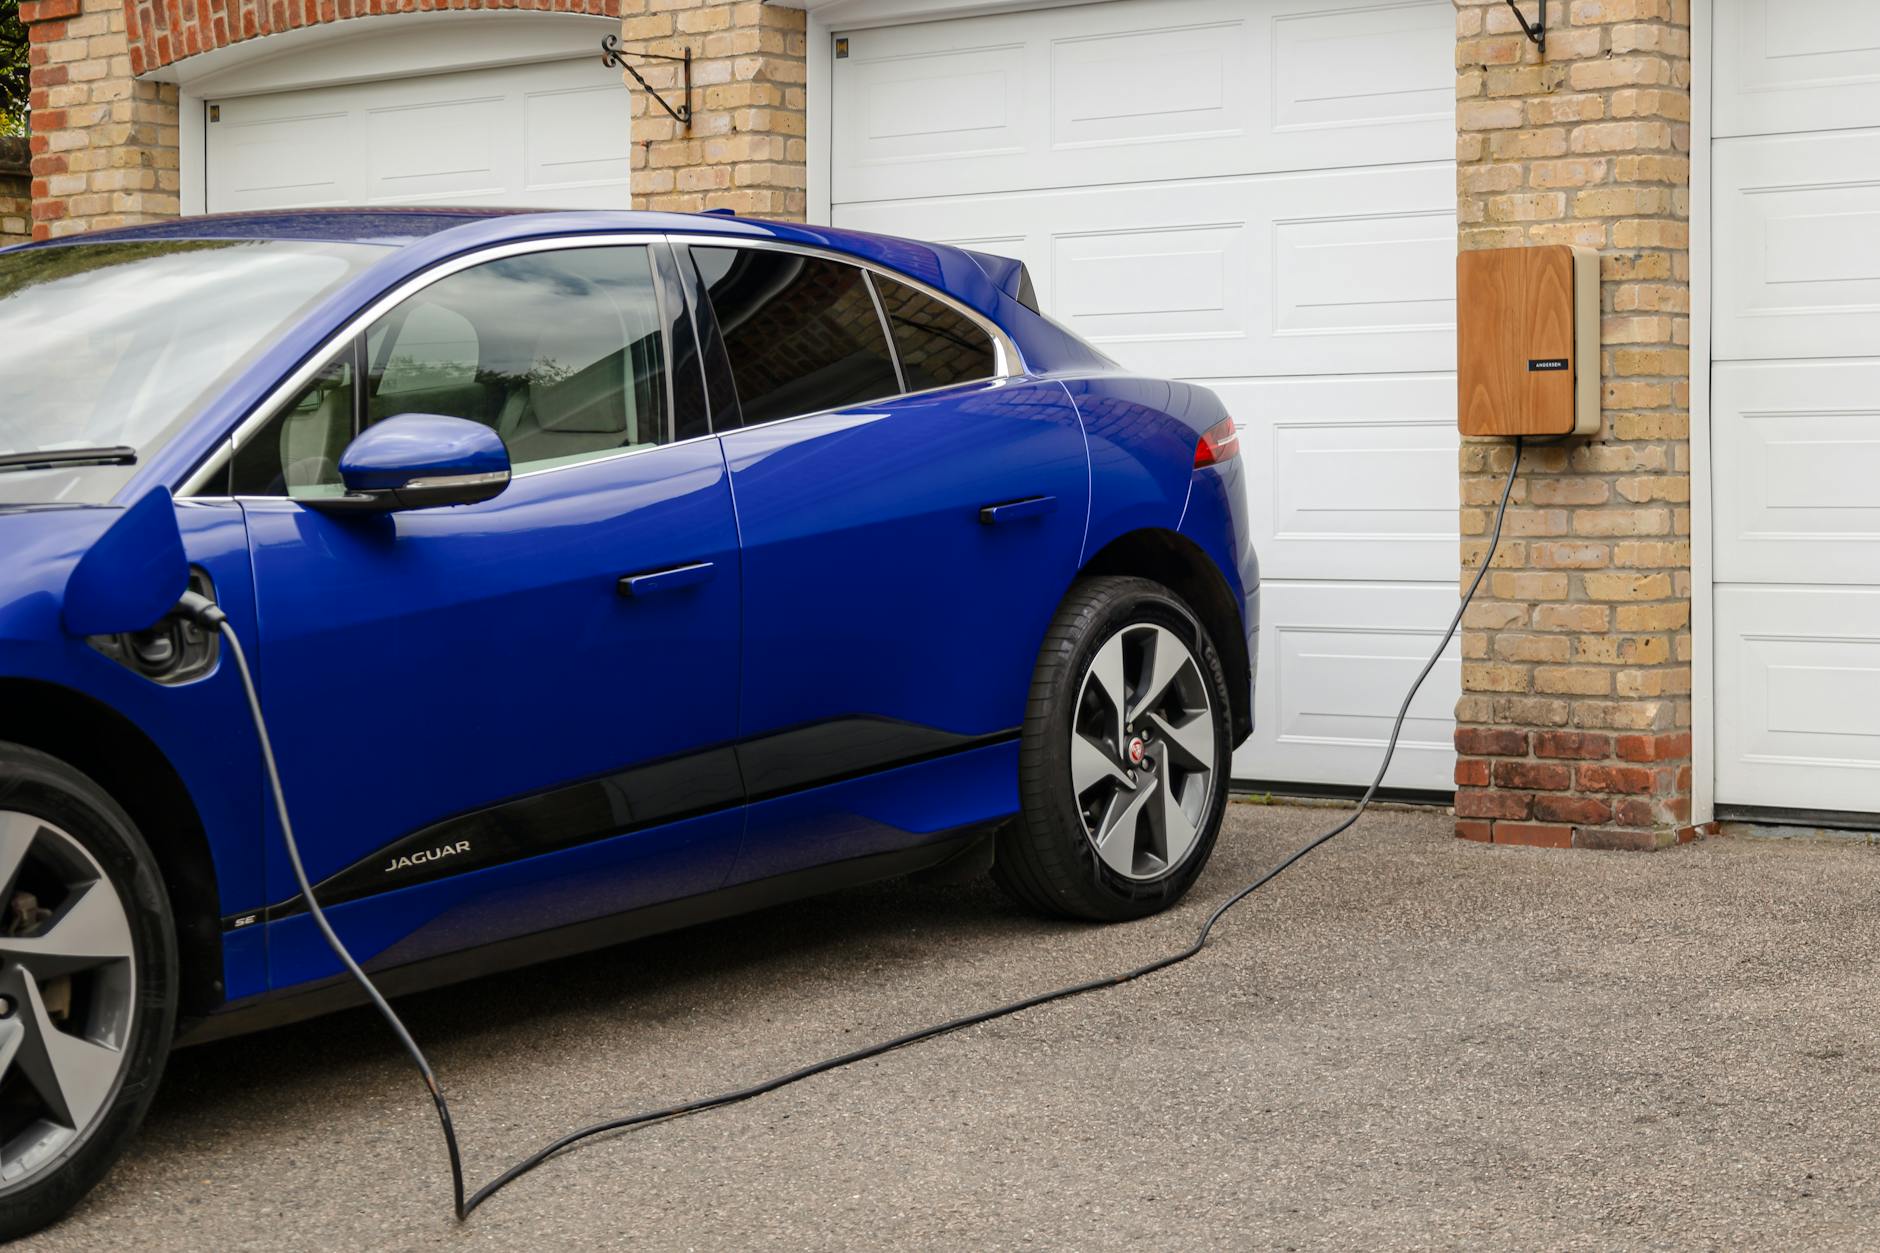
Pick the best location: cable reach, weather protection, and daily convenience
Location is the easiest thing to get wrong because it looks fine until the first rainy night. In a garage, you’re usually protecting the unit from sun, ice, and direct water. Outdoors, you’re trading convenience for exposure, so the enclosure and mounting height matter more.
Most home charging cables are about 15 to 25 feet. That sounds long until the charge port is on the “wrong” corner, or the car parks a foot off. Don’t plan a stretch across a walkway. It becomes a trip hazard and it drags grit into the connector.
A few practical habits help:
- Mount the holster where your hand naturally reaches when you exit the car.
- Add a hook or reel so the cable doesn’t sit on the floor.
- Keep the connector out of snow piles and sprinkler spray.
If you must place the charger away from the wall (for example, at the edge of a driveway), plan for conduit, bollards, or a protected pedestal so the unit doesn’t become a bumper target.
Check your electrical panel before you buy the charger
Your panel needs two things: space for a new 2-pole breaker and capacity to add a continuous load. Many homes with 150 to 200 amp service can support Level 2 charging, but it depends on what else you run, such as electric heat, a large AC, an electric range, or a hot tub. A 100 amp service can still work in some homes, yet it’s more likely to need load management or an upgrade.
A licensed electrician should perform a load calculation and then specify:
- breaker size,
- wire gauge and insulation type,
- conduit type and routing,
- whether GFCI protection is required by the chosen setup and local code.
Don’t buy a 48 amp charger just because it’s available. If your panel only supports a 40 amp circuit, you’ll either dial the charger down or pay for more electrical work.
What installing a Level 2 charger usually looks like (and what it costs in 2026)
A Level 2 charger install is closer to adding a new appliance circuit than plugging in a gadget. The installer is building a dedicated path from your panel to the charger, sized for continuous load. When that path is short and accessible, the job is quick. When the path runs across a finished basement or requires trenching outdoors, labor and materials climb fast.
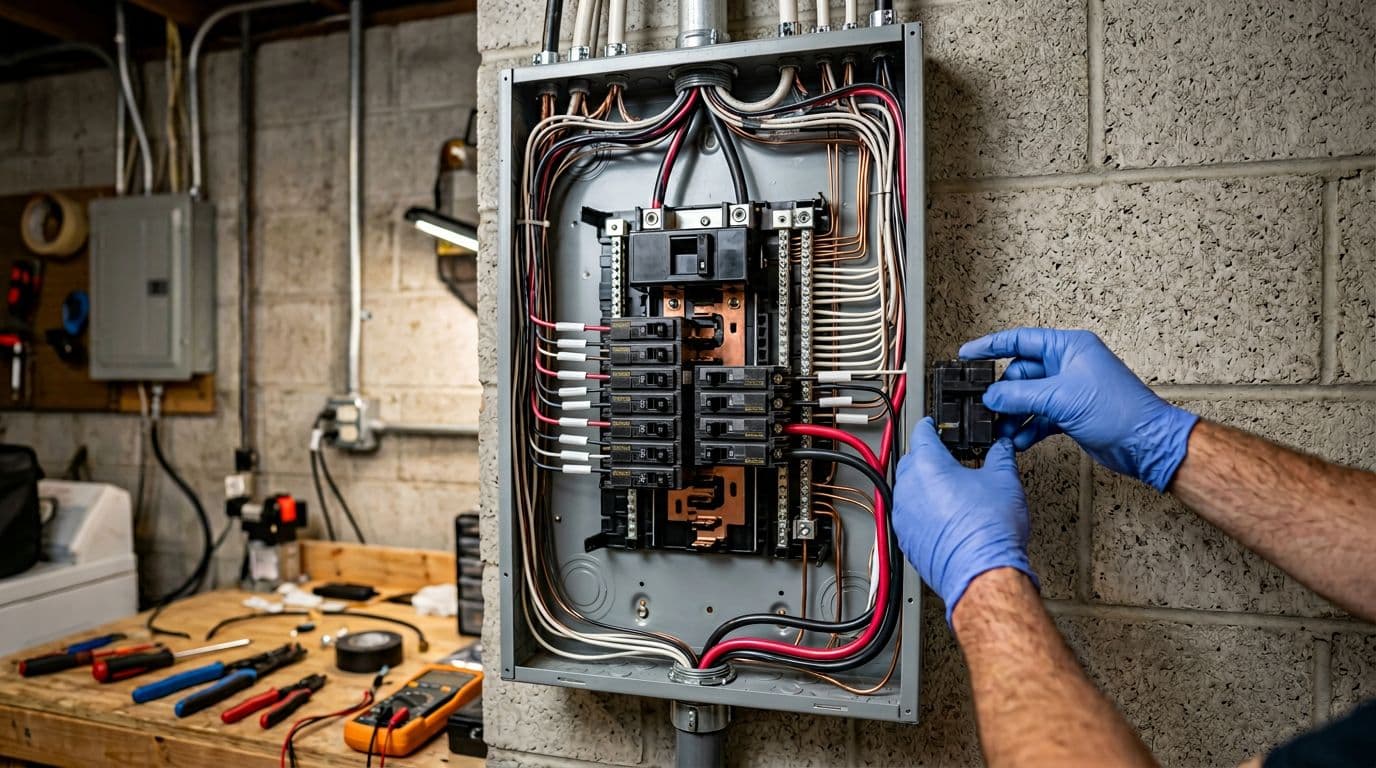 Adding a dedicated breaker for EV charging, created with AI.
The install steps, from quote to first charge
Most projects follow a predictable sequence.
- Site visit and quote: the electrician checks panel capacity, wire path, and mounting location.
- Permit application: submitted to the local building department (often online).
- Install day: run conduit or cable, add the breaker, mount the unit, make terminations, and set charger output.
- Test and verify: confirm torque, check for heat under load, validate GFCI behavior when required, and confirm the car charges.
- Inspection: the inspector verifies work and closes the permit.
- App and schedule setup: if it’s a smart charger, set off-peak schedules and access control.
The on-site install often takes about 2 to 8 hours. Permits and inspection scheduling can add lead time, often around 1 to 2 weeks in many areas.
For a deeper breakdown of contractor workflows and what to expect on install day, Qmerit’s explainer on EV home charging station installation costs helps you compare quotes using the same assumptions.
Cost breakdown and the few things that can raise the price fast
To set a realistic budget, split costs into hardware, electrical work, and “site complexity.” In February 2026, many homeowners see these ranges:
- Charger unit: about $500 to $1,500 (basic to smart, longer cables, better enclosures)
- Installation labor and wiring: often $600 to $2,000 (around $1,000 is common for straightforward jobs)
- Permits and inspection fees: commonly $100 to $300
- Panel upgrade (if needed): can add $2,000 or more, depending on service and panel type
A few factors raise price quickly because they add time, materials, or both:
- Long wire runs from the panel to the parking area
- Outdoor trenching or boring under concrete
- A detached garage that needs a subpanel or feeder upgrade
- Old or crowded panels, or service that can’t support the added load
- Tight wall access, finished ceilings, or masonry that needs special routing
If you want a second opinion on how homeowners estimate total spend, NeoCharge’s guide on home EV charging station installation cost is useful for sanity-checking what’s “normal” versus what signals a bigger electrical project.
Safety rules and common mistakes that can make a charger install go wrong
A home charger moves a lot of power for hours at a time. That’s the key detail many first-time EV owners miss. Space heaters cycle on and off. An EV charger can pull near its set limit for long stretches. As a result, loose terminations and undersized wiring don’t just “act weird,” they heat up.
Also, electrical rules change over time, and states adopt code updates on different schedules. Still, many jurisdictions follow National Electrical Code guidance that treats EV charging circuits as continuous loads and requires proper protection and installation by a qualified person. Plan for permits and an inspection, because skipping them can create expensive problems later.
If you remember one thing, remember this: EV charging is a long-duration load, so connection quality matters as much as wire size.
Safety basics your electrician should cover (and you can double-check)
You don’t need to be an electrician to ask good questions. A solid installer will explain the choices in plain language and won’t dodge details.
At minimum, expect:
- a dedicated circuit for the charger (no sharing with a dryer or tools),
- correct breaker type and size, matched to wire and charger settings,
- proper grounding and bonding,
- weather-rated materials and sealed penetrations for outdoor installs,
- a final test under load, including a check for abnormal heat at terminations.
GFCI protection is a common point of confusion because requirements vary by configuration and local enforcement. Some setups use a GFCI breaker. Others rely on equipment protection built into the EVSE plus code-allowed methods. Your electrician should know what your inspector expects.
Mistakes to avoid: bad placement, cheap gear, skipping permits, and overloaded panels
Most charger failures aren’t “bad chargers.” They’re bad installs or bad decisions made before the install.
Common issues include a unit mounted where the cable can’t reach, a charger blocking a car door, or a receptacle that runs hot because it was never meant for long-duration high load. Another frequent mistake is buying non-certified equipment to save a few dollars, then paying more to replace it after an inspection fails.
Here’s a short “save yourself stress” checklist before you sign off:
- Confirm reach: plug can reach the charge port without crossing a walkway.
- Confirm rating: charger is UL-listed (or equivalent) and outdoor-rated if needed.
- Confirm capacity: electrician completed a load calculation, not a guess.
- Confirm paperwork: permit pulled, inspection scheduled, and sign-off planned.
- Confirm settings: charger output matches the breaker and wire, then it’s locked.
Conclusion
Home charging is only “easy” after it’s installed correctly. The safest path stays simple and documented, even if it takes an extra week.
- Pick Level 1 or Level 2 based on your miles and parking time.
- Choose the location for cable reach and daily convenience.
- Confirm panel capacity and breaker space with a load calculation.
- Buy certified gear (UL-listed or equivalent), outdoor-rated when needed.
- Hire a licensed electrician to install the circuit and charger.
- Pull permits and pass inspection to protect safety and resale value.
- Set an off-peak schedule if your utility offers time-based rates.
Next step: get 2 to 3 quotes, then ask each electrician how they’ll handle load calculation, permits, and warranty. A reliable home setup means you wake up to a charged car, and you stop thinking about charging at all.